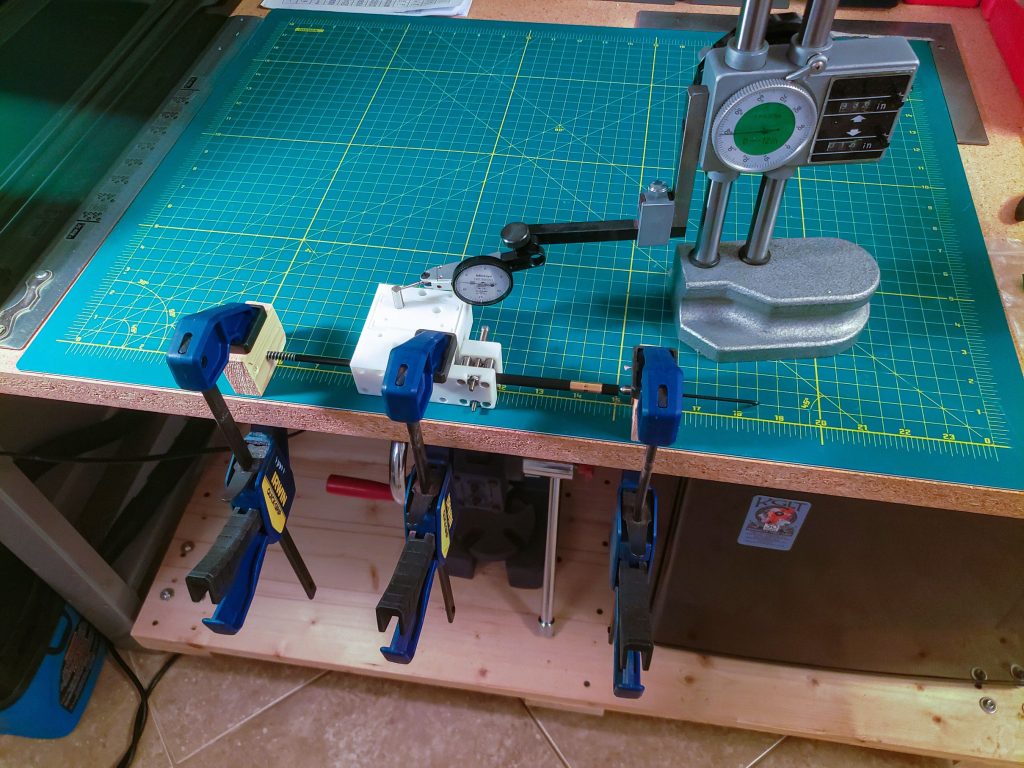
– Taper pin adjuster –
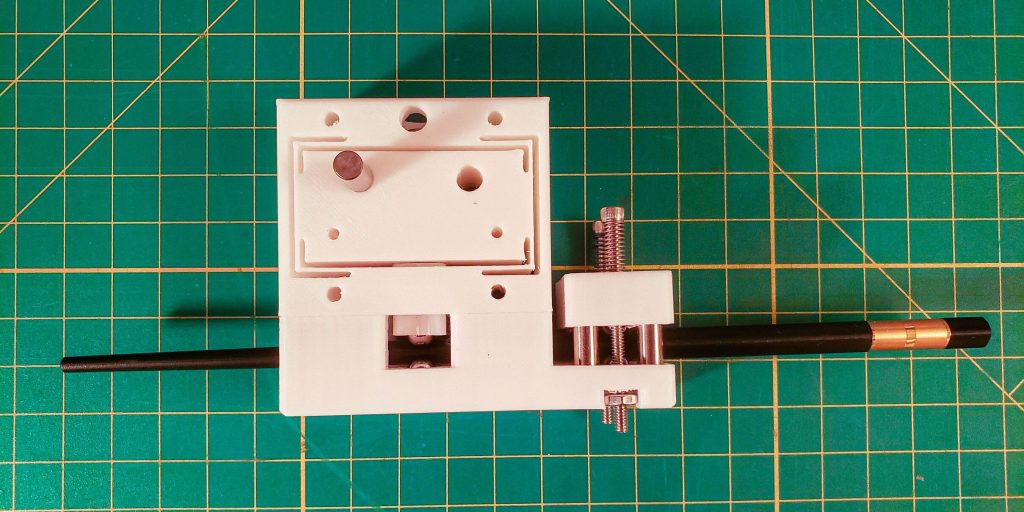
Overview
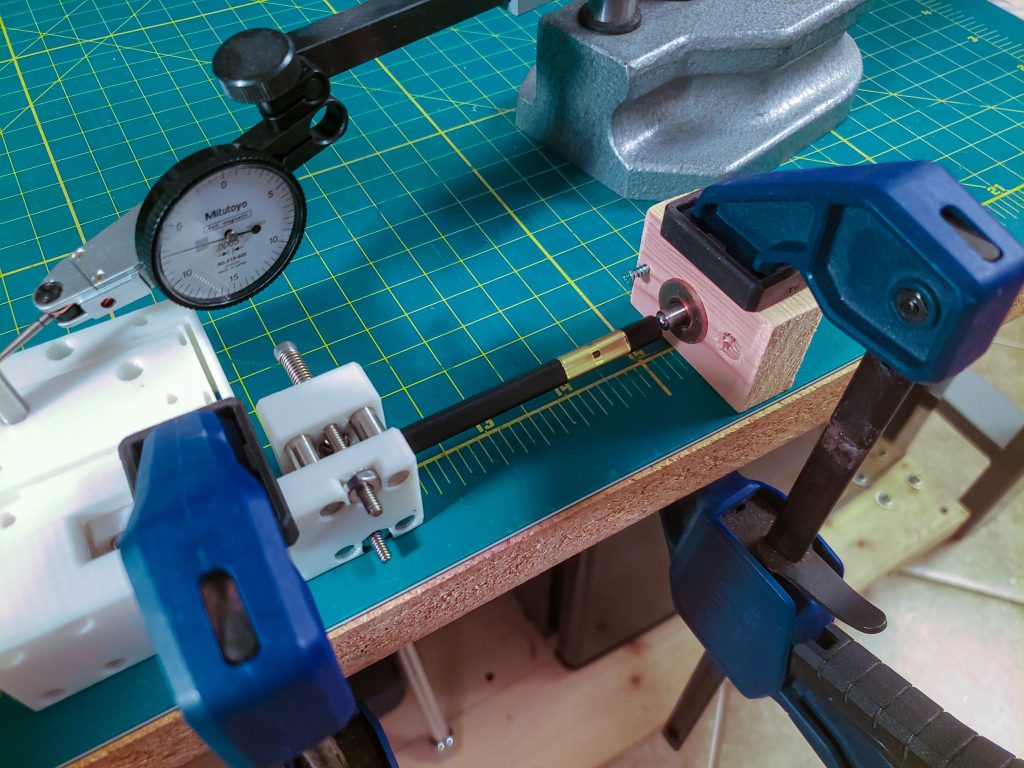
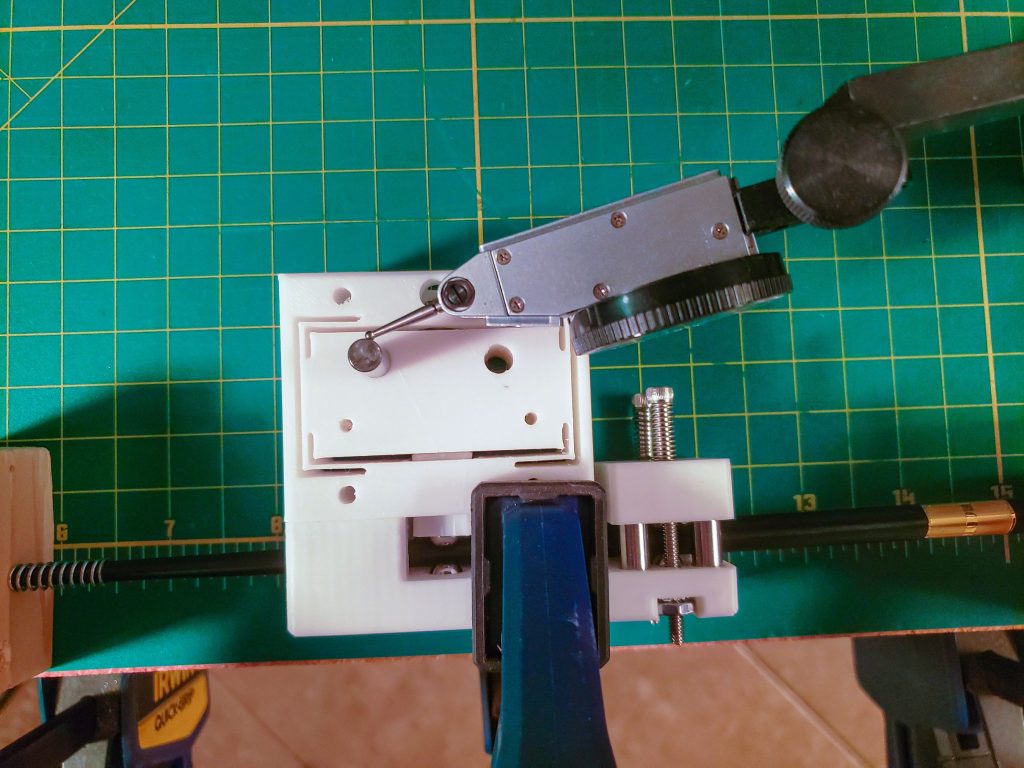
Uses – Fixtures and stages used for manufacturing often require precise alignment to work correctly (punches and dies need to be centered, fiber optics need to be aligned). If you can see or measure the position as you make adjustments, the question becomes ‘how easily can you make adjustments and what mechanism do you use?’. This is a demonstration of the positioning precision you can get from a low-cost taper pin adjustment mechanism (a chopstick and a flexure). It translates left and right motion of the chopstick into vertical motion of a flexure stage using ball bearings in contact with the tapered surface of the chopstick.
Precision adjustment screws – Screws are probably the most useful and ubiquitous adjustment mechanism but they do have downsides. Finer thread pitches require more precise manufacturing which is expensive and the load ratings are generally low. An 80 TPI (thread per inch) adjustment screw is pretty standard for fine adjustments but you only get a resolution of .0125″ per turn and a load rating of about 15 pounds. You can get differential screws and micrometers with resolutions of 0.5 microns [20 millionths of an inch] from Thorlabs but they’re around $120-$400.
Changing form-factor to borrow precision from a CNC machine – A good way to get the benefit of a screw without the form factor and associated manufacturing complications is to unwind the thread into a ramp or wedge which can have a vanishingly small slope, equating to a much higher thread pitch. If you want a ramp that’s axially symmetric you can use a tapered pin. And if you want a cheap tapered pin… you can use a chopstick! Since the plastic ones are injection molded it means you get to borrow the precision of the machine that made the chopstick mold for basically free. Even better, if you combine a chopstick taper pin with a standard 80 TPI adjustment screw, you can compound the adjustment screw resolution to get an effective TPI of 5,882!
Limitations – You can’t rely on this mechanism to be accurate or repeatable (in the technical sense of those words). For example, the surface will deform slightly where it contacts the retention balls and the taper isn’t linear (but it is gradual, which is great). But, if all you’re looking for is high precision positioning then this is all you need since you can use an indicator on the output to close the feedback/adjustment loop.
Construction
Flexure stage – The flexure stage is just to keep the motion linear and remove backlash. In practice you could waterjet this part out of metal and use a leaf spring clamp to hold the moveable block in place once the chopstick is removed.
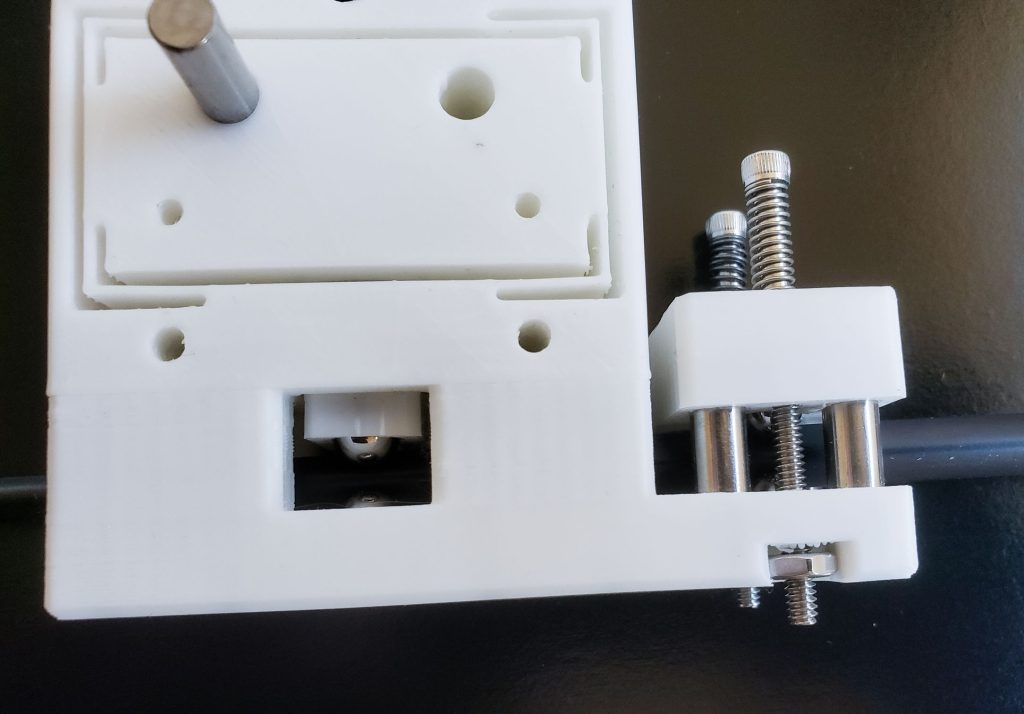
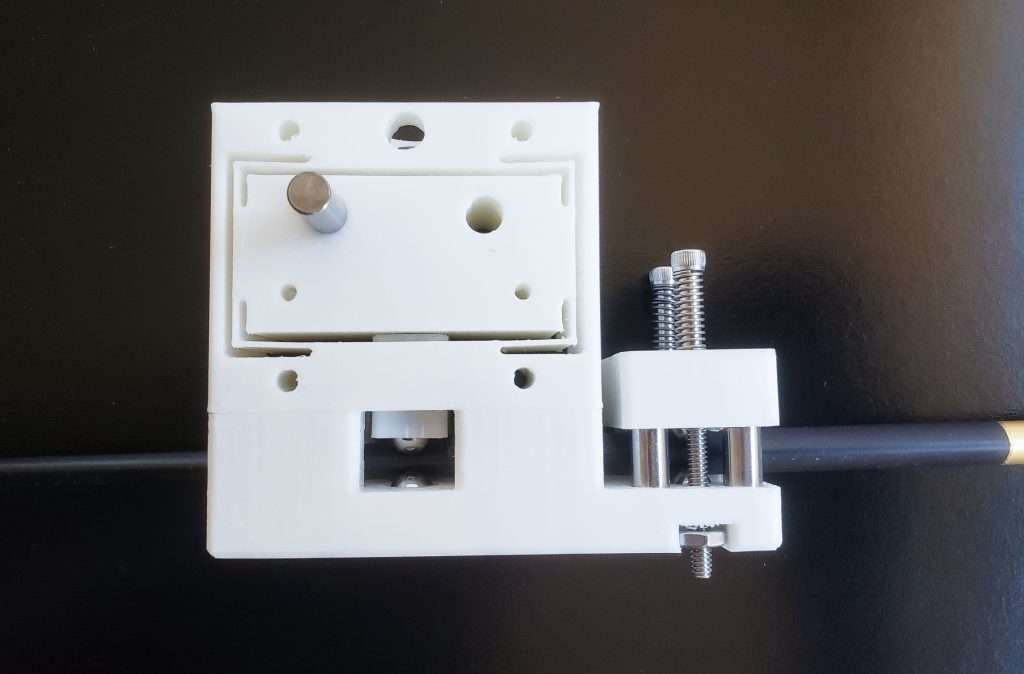
Movement reduction – To move the chopstick back and forth, you need some kind of adjustment method. I used a relatively common Thorlabs 80 TPI screw for this ($10). The chopstick has a taper of about 0.78 deg., or 0.0136″ change in diameter per 1″ of travel. The adjustment screw advances 1″ per 80 revolutions meaning you get a diameter increase of 0.0136″/80 = 0.00017″ per screw revolution (an effective TPI of 5,882). Assuming you can accurately move the screw in 10 increments per revolution, you get an output resolution of 1.7×10^-5 inches, about 0.43 microns, on par with expensive micrometers and differential screws!
Performance
So how does it work in practice? I found it to be remarkably smooth and reliable in practice and could easily stop at half micron increments on a 1 micron dial indicator (not shown in videos). I could also go back and forth smoothly, meaning the spring preload was effective. You could obviously just buy a micrometer for the same purpose, this was more of a demonstration of how simply precision movement can be achieved.